I feel like Valentine’s Day is a very divided holiday. There are those who love it and those who hate it. I totally get that if you’re single, it can be frustrating being surrounded by everything lovey-dovey. But there’s more to celebrate than just significant others. What about your parents…or siblings…or friends…or anyone who makes you feel a little special occasionally.
I love spreading the holiday cheer. I just do it more in the form of treats. Any food-centered holiday is fine by me, especially when the focus in more on sweets! :)
When February rolls around I love strolling the candy aisle to see how all the candies we know and love, shift for Valentine’s Day. Whether its color or shape, manufacturers go above to make sure their customers purchase theses “limited edition” goodies—which by the way cost 5x more for some reason. Probably the cost of production and the heart-shaped box. Or if you’re LeBraun and me, you’ll wait till February 15th and snag some half-price deals on whatever’s left. Haha
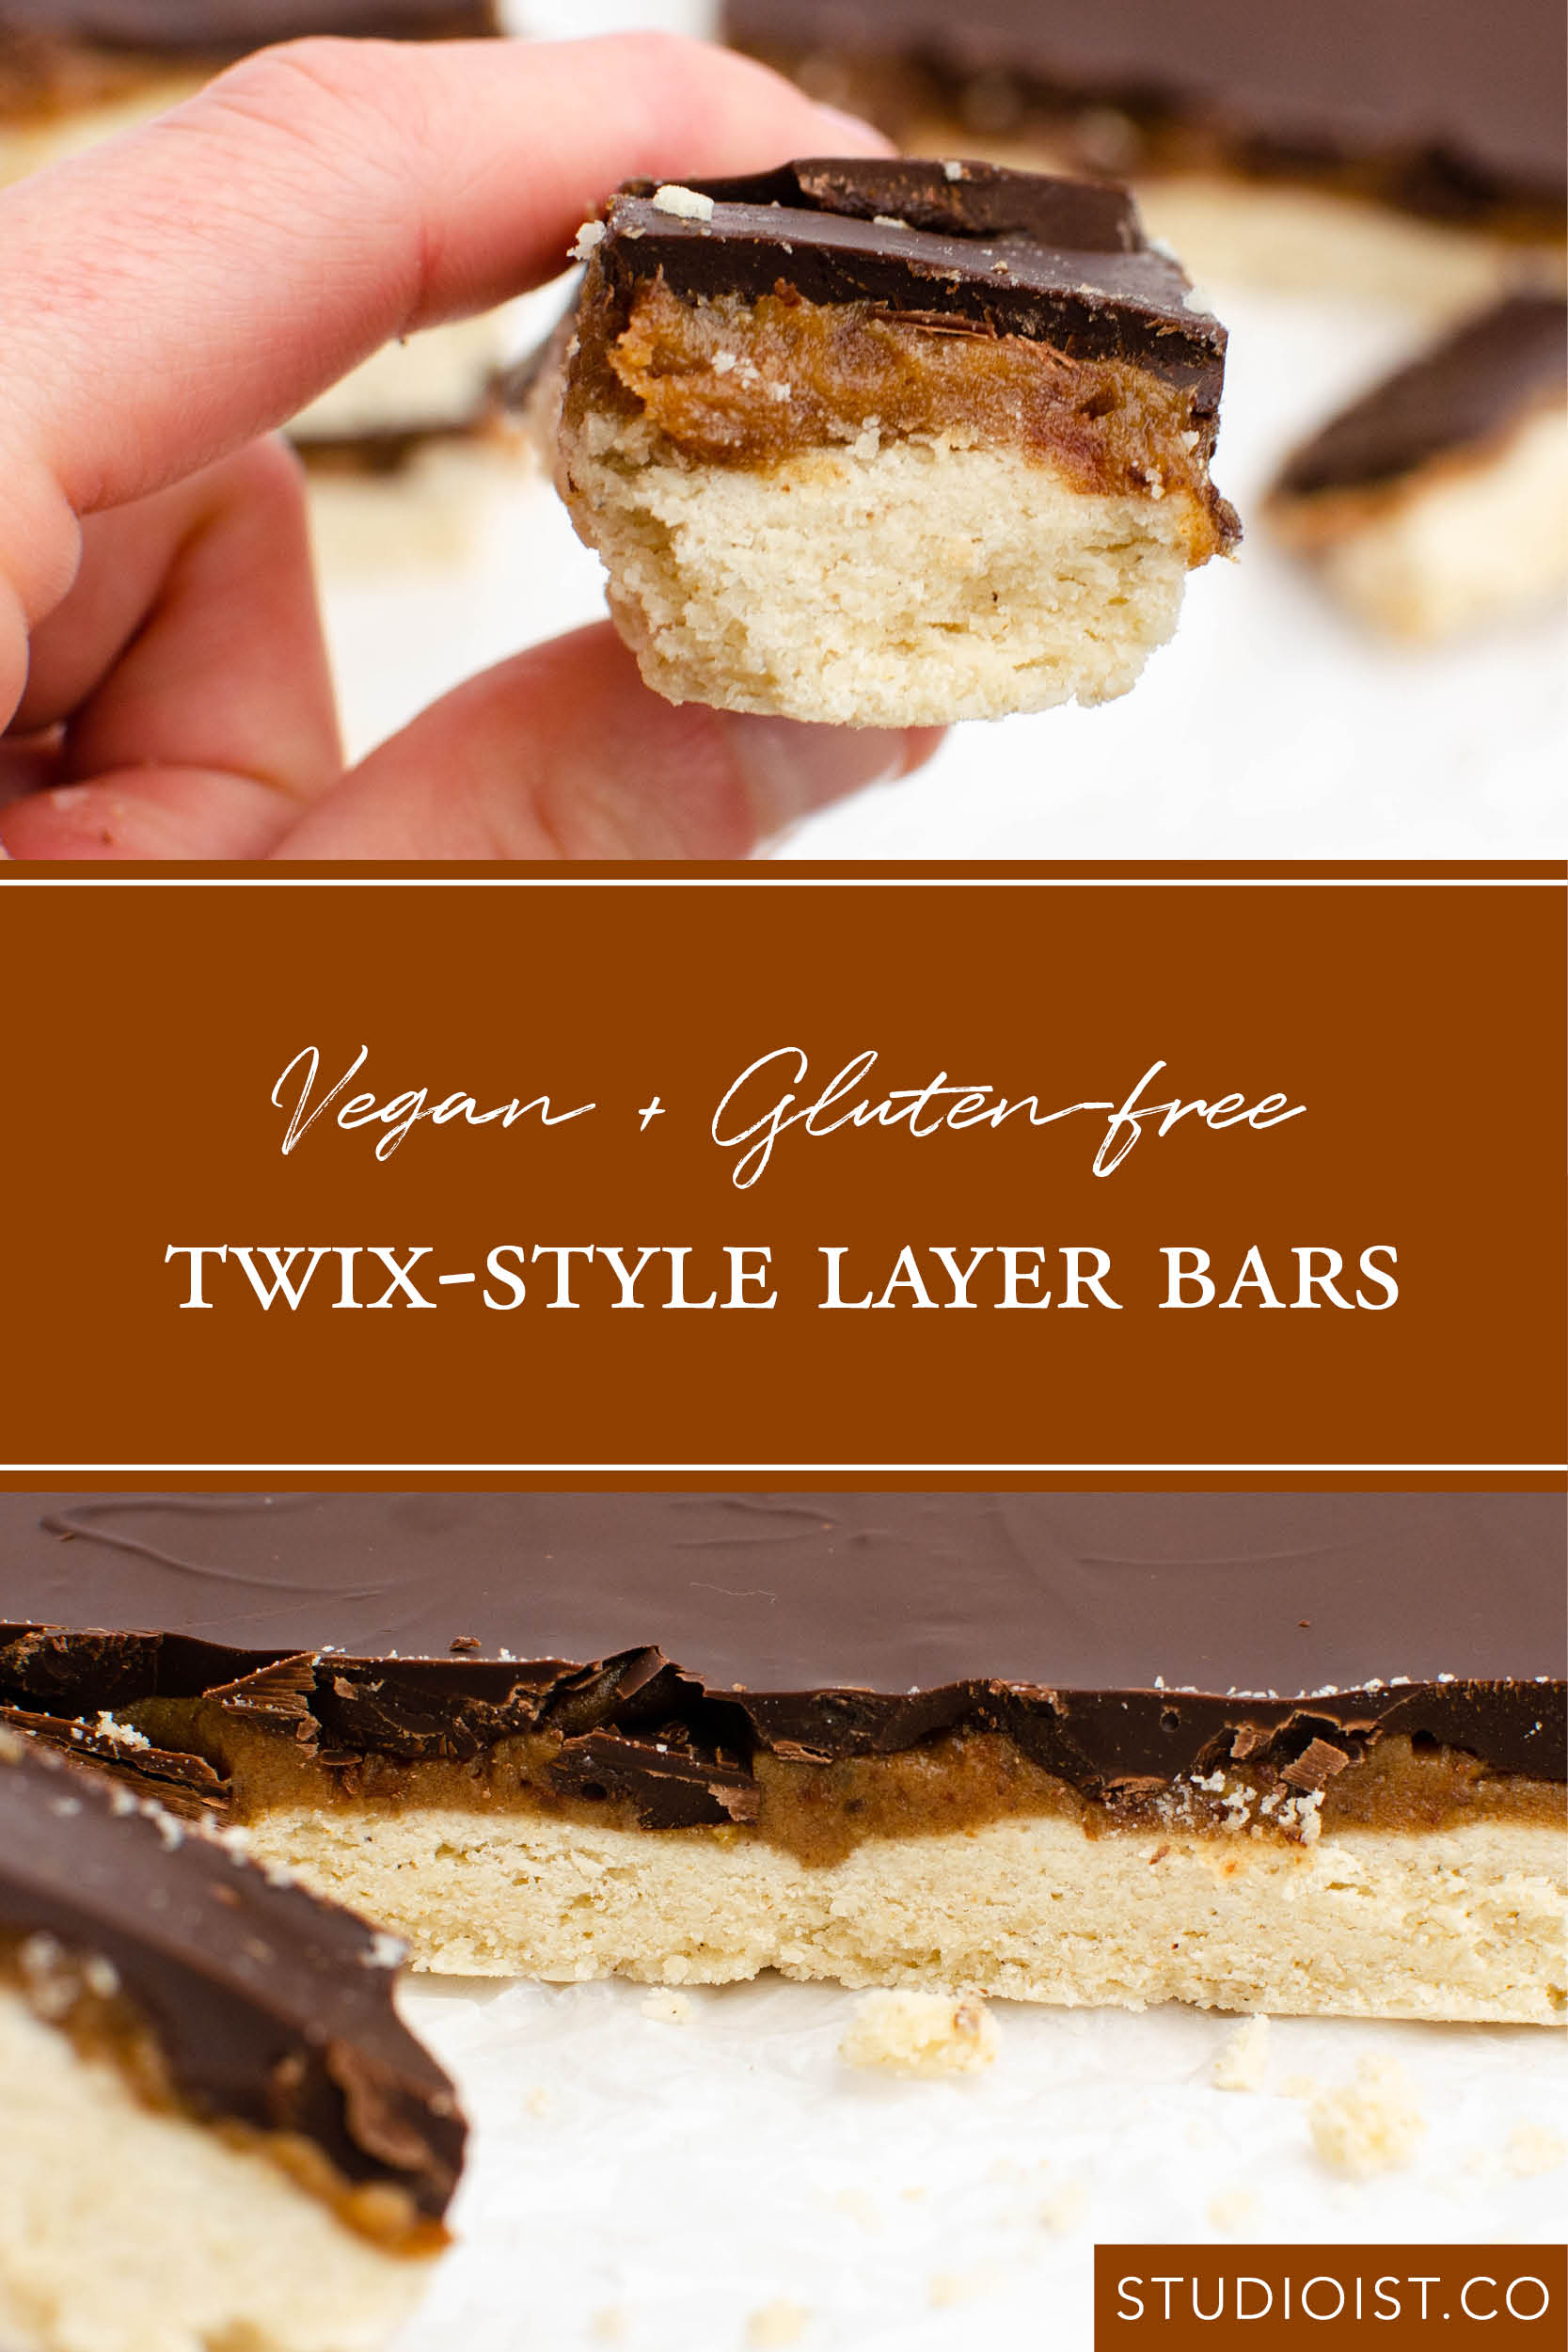
I know LeBraun will be craving Kit-Kats and he knows I’ll be craving Twix Bars. Unfortunately Twix Bars and neither gluten-free or dairy-free so this year we decided to take a stab at making some Twix-style bars to satisfy that craving.
We haven’t mastered the perfect dairy-free or vegan caramel quite yet. They just never seem to set quite right, but we have used (+ enjoyed) the caramel-esque raw middle layer in a recipe before and thought it would be perfect for our makeshift sweet treats.
The raw caramel comes from dates! Dates are one thing people who don’t really understand them tend to dismiss at the grocery. But the truth is there have endless possibilities. You can eat them straight or blend them into everything from smoothies to caramel to dessert crusts.
I started using dates more and more in college as an natural sweetener, with the added benefit of the fact that dates are very nutritious! They are high in fiber and antioxidants, promote brain health, and best of all are easy to add to your diet.
That being said we always have a container of dates in our pantry.
Back to the recipe at hand—So what makes a Twix so tasty? It’s the signature combination of crunch, creamy, and chocolate!
The delicious shortbread-style cookie topped with caramel, then coated with chocolate. Anything with those words in it has got my attention!
The raw caramel because of the addition of nut butter does add a subtle - yet not unexpected - nutty flavor, but Mars also makes Peanut Butter Twix so it’s just a combo of the two. I find cashew butter less flavorful than traditional peanut butter or even almond butter.
So verdict? Cravings all gone…and so are these bars. Whoops! Workouts starts next week, right?
GLUTEN-FREE, VEGAN TWIX-STYLE BARS
Ingredients
For the Base Layer:
- 1 1/4 cups gluten-free, all purpose flour
- 1/4 cup granulated sugar
- 2/3 cup vegan butter substitute, slightly softened
For the Middle Layer:
- 1 1/4 cup Medjool dates, pits removed
- 1/4 cup nut butter of choice (I used cashew butter)
- 2-3 tbsp almond milk
- Sprinkle of sea salt
For Top Layer:
- 2 cups vegan chocolate chunks (like Enjoy Life)
- 1 tsp vegetable oil
Directions
Preheat oven to 350 degrees Fahrenheit.
Line a 9x11 pan with parchment paper - leaving at least 2 inches on each side past the edge of the pan - and set aside.
In a medium bowl add base ingredients.
Using a pastry butter or two forks, cut the butter until a crumbly mixture forms.
Pour into prepared pan and press down to form base layer.
Bake for 20 minutes then set aside and allow to cool.
In a small food processor or blender, add middle layer ingredients.
Blend until creamy, scraping down sides periodically.
Spread the mixture in an even layer on top of the cooled crust base layer.
Place pan in freezer for roughly 30 minutes or until caramel middle layer has set.
When set, add op layer ingredients to a microwave safe bowl and melt in 30 second intervals, stirring well between each until completely melted and smooth.
Remove pan from freezer.
Pour the chocolate top layer over the caramel middle layer and gently spread to cover.
Place in the fridge to set faster.
When chocolate has hardened and you’re ready to serve, remove pan from fridge and gently lift the bars out from the pan by carefully pulling on the extended parchment.
Slice into small bars and serve.


